| The Rear Wheel Puller is often referred to as the dog bone puller. This tool is needed to remove rear drums on many vintage vehicles, not just Hudsons. The following gives you a step-by-step account on how to use this handy tool. A 1957 Hudson was used as the model car. Please note the use of appropriate jack stands. Also use common sense by wearing safety glasses, work boots, and leather gloves. |
|
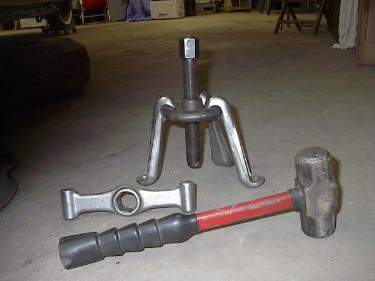
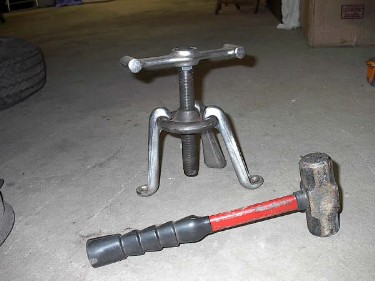
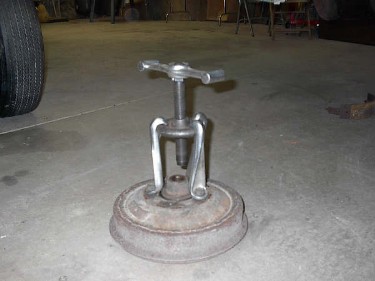
| Begin by threading "dog bone" onto thread of shaft. |
|
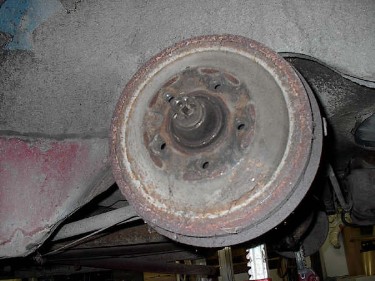
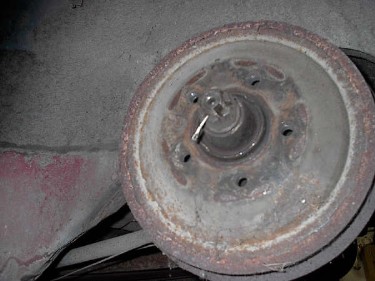
| Rear brake drum with nut, washer, and cotter pin in place. |
|
| Remove cotter pin, nut, and washer. |
|
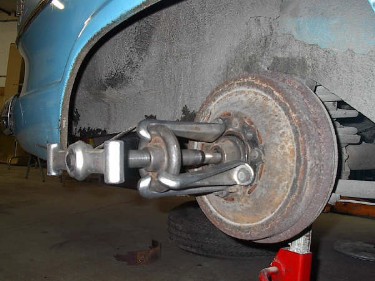
| The image at right shows the wheel puller installed on the brake drum. Be sure to tighten up puller with wheel lug bolts to make sure the center of puller is in the center of the axle. You can snug the wheel bolts up with a socket. Be sure to screw them in almost all the way. Once this is done, the "dog bone" of the wheel puller is ready to be hit with a hammer. |
|
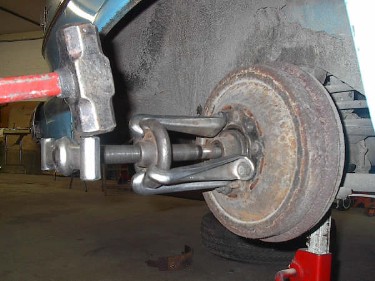
The "dog bone" is intended to be struck on the ends, making the puller tighter and tighter with each hammer strike. The image below is what NOT TO DO. DO NOT hit the puller in this way or it could break the axle thrust washer in the rear end.
 | 
|
| The image at right is the CORRECT way to hit "dog bone". After striking the "dog bone," tap the edge of the brake drum with the hammer, all around the perimeter, to set up a vibration. Once there's tension on the puller, this vibration may actually pop the drum loose. If not continue to strike as needed. |
| After striking the "dog bone," tap the edge of the brake drum with the hammer, all around the perimeter, to set up a vibration. Once there's tension on the puller, this vibration may actually pop the drum loose. If not, continue to strike as needed. It's a good idea to leave the axle nut ON the axle, though of course you want to loosen it so there's room for the drum to move outward once it's loosened. If you don't leave the axle nut on the axle, then the force of the drum moving outward, when it finally "lets go", may cause pain or injury at the moment the drum comes loose. |
|
Before installing the brake drum back onto the axle, use anti-seize on both the axle and the inside of the brake drum where it contacts the axle shaft. Make sure the key is in place also.
|